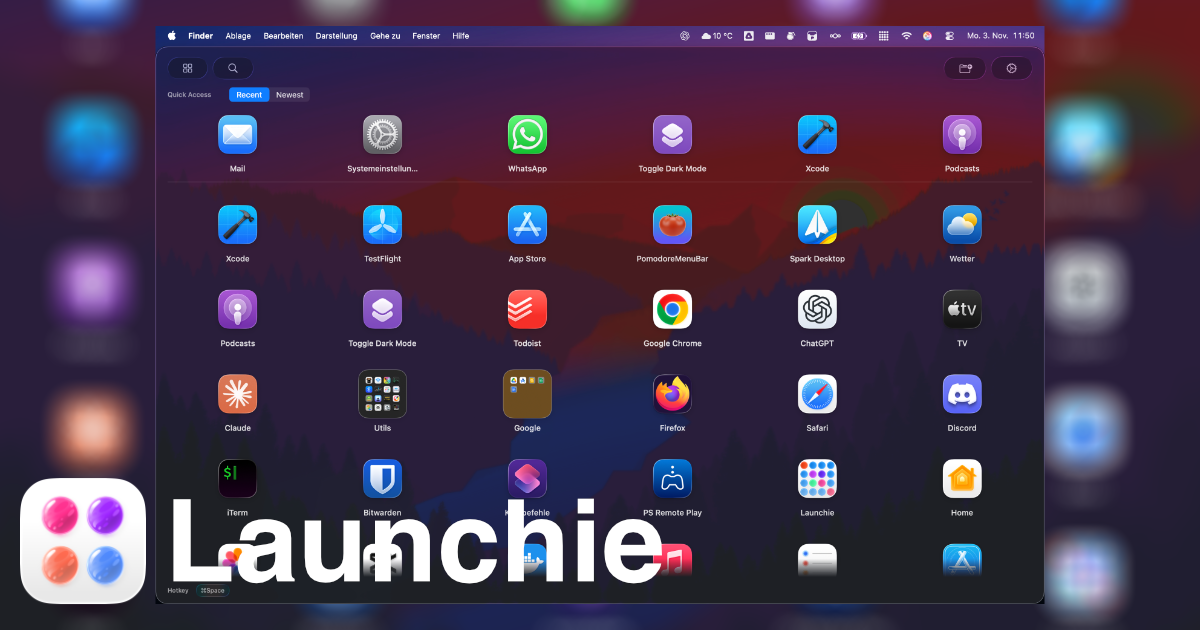
Short answer: Launchie can import your LaunchNext layout, with all folders and your app order. Open Launchie, go to Settings → Backup, and click Import… next to Import from LaunchNext. It also works with a LaunchNext backup file, and it’s free.
Moving to a new launcher usually means dragging a hundred icons into place again. That’s the reason many people stay with a tool they’ve outgrown. This guide shows how to skip that part.
Why People Switch From LaunchNext
LaunchNext is a capable open-source project with plenty of options. People who move to Launchie usually mention the same things: a notarized app that opens without a security warning, smooth scrolling with large app libraries, and a Mac App Store version that installs and updates like any other app. We compare the two in detail in Launchie vs. LaunchNext.
Whatever your reason, your layout comes with you.
How to Import Your LaunchNext Layout
When you first open Launchie
- Download Launchie from the Mac App Store, as a direct download, or with Homebrew.
- Open it. If LaunchNext is set up on this Mac, the Getting Started guide asks Coming from LaunchNext? (or Coming from another launcher? if it finds more than one)
- Click Import from LaunchNext.
- If Launchie needs your permission to read the layout, a window opens that already shows LaunchNext’s folder. Click Import.
- Launchie shows how many apps and folders it found. Click Import to confirm.
Any time later
- Open Launchie and press ⌘, to open Settings.
- Go to Backup.
- Next to Import from LaunchNext, click Import…
- Confirm the folder if asked, then confirm the import.
Import From a LaunchNext Backup
Moving to a new Mac, or already removed LaunchNext? If you have a LaunchNext backup, you can import that instead:
- In Launchie, go to Settings → Backup and click Import… next to Import from LaunchNext.
- In the window that opens, go to your backup and choose the .launchnext file.
- Click Import, then confirm.
The backup is read the same way as LaunchNext’s live data, so the result is the same.
What Gets Imported
- Folders, with their names and the apps inside them.
- The order of your apps and folders, as you arranged them in LaunchNext.
- Apps that are no longer installed are skipped, and Launchie tells you how many.
- Apps that weren’t in your LaunchNext layout are placed after the imported ones.
Empty slots from LaunchNext aren’t carried over. After the import, Launchie switches to its Custom arrangement so your imported order is what you see, and you can keep rearranging by drag and drop.
Things to Know Before You Import
- It replaces your current Launchie layout. Import first, then fine-tune in Launchie.
- LaunchNext stays untouched. Launchie reads a copy of LaunchNext’s data and never writes to it. You can keep both apps side by side while you decide.
- It’s free. The import works in Launchie’s free version.
More Ways to Switch
 Launchie